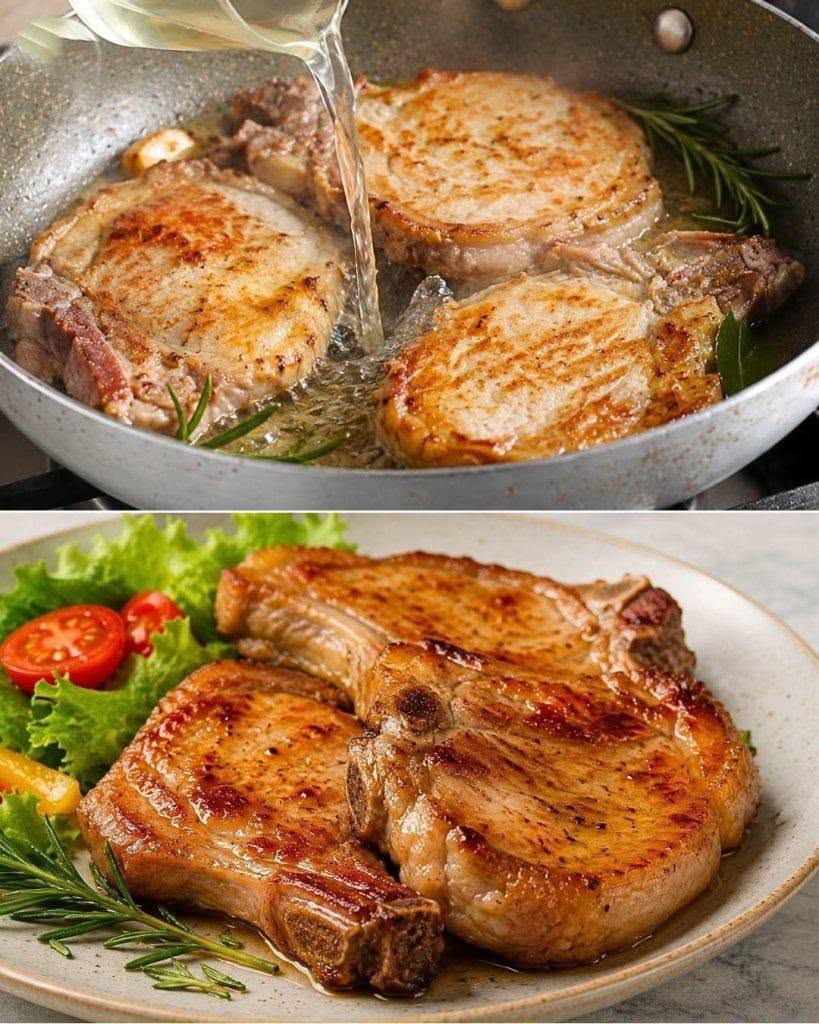
Few things are more disappointing than cutting into a beautifully browned pork chop only to discover that the inside is dry, tough, and difficult to chew. Pork chops are delicious when prepared correctly, but because they are relatively lean, they can quickly lose moisture if cooked for too long or at the wrong temperature.
Du vil måske også synes om


Fortunately, there is a simple kitchen trick that can make a noticeable difference: brining pork chops in saltwater before cooking. This inexpensive technique helps the meat retain moisture and improves its texture, making it easier to prepare tender, flavorful pork chops at home.
Whether you prefer pan-seared chops, oven-baked pork, or a grilled dinner, understanding this method can help you achieve more consistent results without expensive ingredients or complicated equipment.
The Secret Ingredient: Salt
Salt may seem like an ordinary seasoning, but it plays an important role in preparing tender pork chops. When used in a brine, salt helps the meat retain moisture during cooking and seasons it more evenly.
A simple brine requires only water and salt. You can also add garlic, black pepper, rosemary, or a little brown sugar for additional flavor, although these ingredients are optional.
The important thing is to use the right concentration and avoid leaving the meat in the brine for too long.
Ingredients for Juicy Pork Chops
For four pork chops, approximately 1 inch thick, you will need:
- 4 pork chops, bone-in or boneless
- 4 cups cold water
- 2 tablespoons kosher salt, approximately
- 1 tablespoon brown sugar, optional
- 2 cloves garlic, lightly crushed, optional
- 1 teaspoon black peppercorns, optional
- 1 tablespoon olive oil
- 1 teaspoon paprika
- 1 teaspoon garlic powder
- Black pepper to taste
- Fresh thyme or rosemary, optional
Salt crystal sizes vary considerably, so the exact amount of salt can depend on the type you use. A kitchen scale provides more consistent results when measuring salt by weight.
Step 1: Prepare the Brine
Pour the cold water into a large bowl and stir in the salt until it dissolves. Add the brown sugar, if using, along with the garlic and peppercorns.
Place the pork chops in the mixture, making sure they are fully submerged. Cover the bowl and refrigerate for approximately 30 minutes to 2 hours, depending on the thickness of the chops.
Do not leave the pork at room temperature while brining. Keeping it refrigerated helps prevent harmful bacteria from multiplying.
Brining for too long can make the meat overly salty and affect its texture, so a short, controlled brining period is usually sufficient for ordinary pork chops.
Step 2: Dry and Season the Meat
Remove the pork chops from the brine and discard the liquid. Pat the meat thoroughly dry with paper towels.
This step is essential because excess moisture on the surface prevents proper browning. A dry surface helps the pork develop a delicious golden crust when it hits the hot pan.
Rub the chops lightly with olive oil, then season with paprika, garlic powder, and black pepper. Avoid adding much additional salt because the brine has already seasoned the meat.
Step 3: Sear the Pork Chops
Heat a heavy skillet over medium-high heat. Add a little olive oil, then place the pork chops in the pan without overcrowding them.
Sear for approximately 3–4 minutes per side, depending on thickness, until a golden-brown crust develops.
If the chops are particularly thick, reduce the heat after searing and continue cooking until the centers reach the correct temperature. You can also transfer the skillet to a preheated oven if it is oven-safe.
Avoid repeatedly pressing down on the meat with a spatula. This does not improve browning and can make cooking less even.
Step 4: Check the Internal Temperature
The most reliable way to prevent dry pork is to use a digital meat thermometer.
According to USDA food-safety guidance, whole cuts of pork should reach an internal temperature of 145°F (63°C), followed by a three-minute rest.
Insert the thermometer into the thickest part of the chop, avoiding the bone. Cooking times vary depending on thickness, pan temperature, and whether the meat is bone-in or boneless, so temperature is a better guide than the clock alone.
Once the chops reach the recommended temperature, remove them from the heat and let them rest for three minutes before serving.
Why Does Brining Work?
Salt changes the way proteins in meat behave, helping them retain more moisture during cooking. This is especially useful for lean cuts such as pork loin chops, which contain less fat than many other cuts of meat.
The result can be a more succulent texture and better seasoning throughout the chop.
However, brining cannot compensate for excessive cooking. Even well-brined pork can become dry if it is cooked far beyond the recommended temperature.
Three More Tips for Tender Pork Chops
Choose chops of even thickness. Uniform pieces cook more consistently, reducing the chance that thin sections will dry out before thicker areas are ready.
Avoid excessive heat throughout cooking. A hot pan creates a flavorful crust, but lowering the heat after searing can help thicker chops cook through without burning.
Serve with a flavorful sauce. Pan juices, sautéed mushrooms, apple sauce, or a light mustard cream sauce can complement the meat and make the meal feel more satisfying.
What Should You Serve With Pork Chops?
Juicy pork chops pair beautifully with roasted potatoes, mashed potatoes, steamed green beans, glazed carrots, or a crisp garden salad.
For a simple weeknight dinner, serve the chops with roasted vegetables and brown rice. If you prefer a more traditional comfort-food meal, creamy mashed potatoes and sautéed mushrooms make an excellent combination.
Leftovers should be refrigerated promptly in a covered container and reheated thoroughly.
Final Thoughts
Dry pork chops do not have to be a regular problem in your kitchen. A simple saltwater brine, careful browning, and attention to internal